
Getting started with Ploffo
From an empty workspace to your first scheduled post, in five steps.
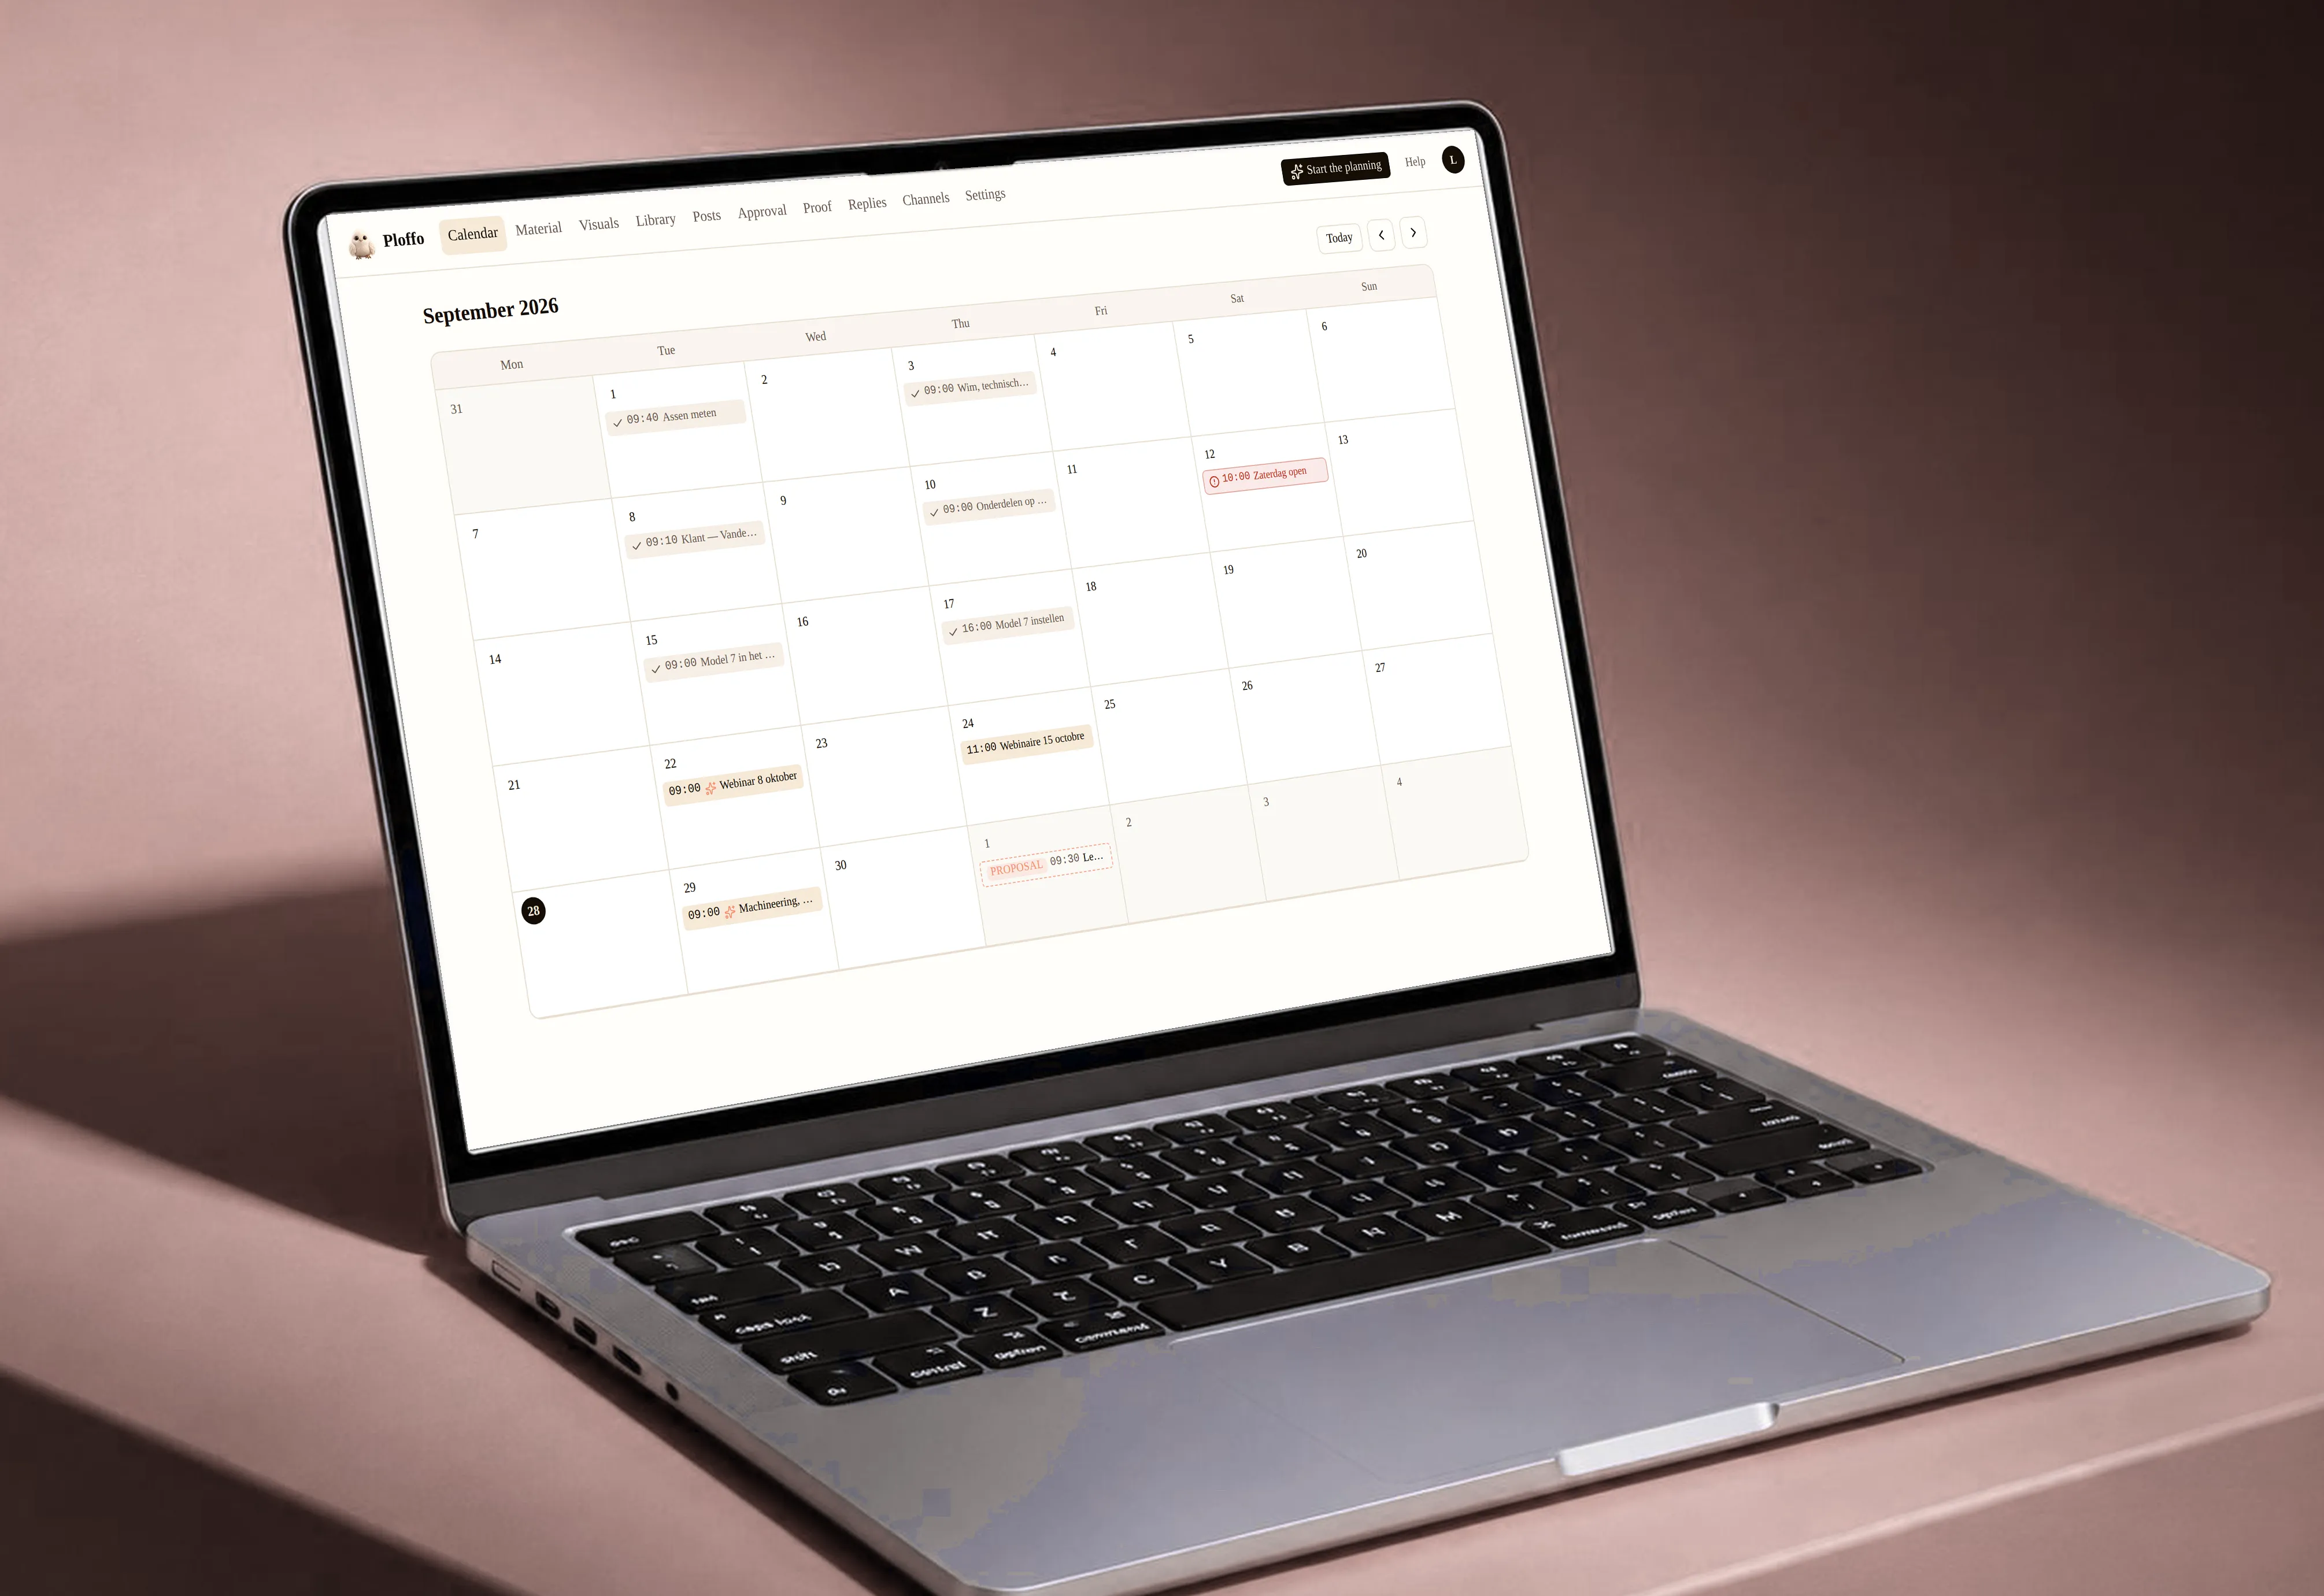
Ploffo schedules your posts, gets them approved, and keeps a record of what went out. Here’s how to begin.
1. One workspace per brand
One brand is one workspace: its own channels, its own approver, its own rules. Working for yourself, you only need one — and you’ll never see the word.
2. Connect your channels
Under Channels, pick a platform and follow the steps. Each one asks something different, usually a business account and admin rights on the page. See Connecting channels.
3. Set the rhythm
How many posts a week, and which days never. Ploffo can’t guess that from your images: twenty images could be a month at five posts a week or a quarter at one and a half. You set it once and can adjust it per round.
4. Drop in your material
Drag your images into your workspace. Ploffo groups what belongs together, picks a channel and a moment, and puts a schedule in front of you. So you never start from a blank screen — you review what’s already there.
5. Get it approved
Working for a client, one link or one PDF goes out with the whole month in it. They approve post by post or ask for a change. Nothing leaves before that.
Working for yourself, you walk through the same five blocks and tick them off. You can also skip that step, post by post.
Still stuck? Ask your questionAll topics